

Are your plants giving you the silent treatment? Maybe they’re just cramped in their current pots. Repotting house plants isn’t just an occasional chore: it’s a love language for your greenery. This guide fills you in on when to give your leafy friends a fresh start, how to choose the perfect pot, and much more. So grab your gloves, and let’s dig in.
When To Repot Your House Plants
Signs Your Plant Needs Repotting
Plants can be quite dramatic when it comes to space. If your once vibrant green buddy seems to be wilting or growing slower than expected, it might be time for a bigger home. Look for roots peeking through drainage holes or circling the pot. Other tell-tale signs include yellowing leaves or soil that dries out too quickly. If the plant’s been contorted to find light, that’s another sign it’s ready for an upgrade.
Seasonal Considerations for Repotting
Timing is everything in life, and plants are no exception. Spring is generally the best time for repotting. During this season, most plants are in their growth phase, making them more resilient to the stress of relocation. But, if you’ve got a particularly stubborn plant, early summer can also work. Just avoid repotting during the winter months when plants are dormant: they won’t appreciate the disturbance.
How To Choose the Right Pot
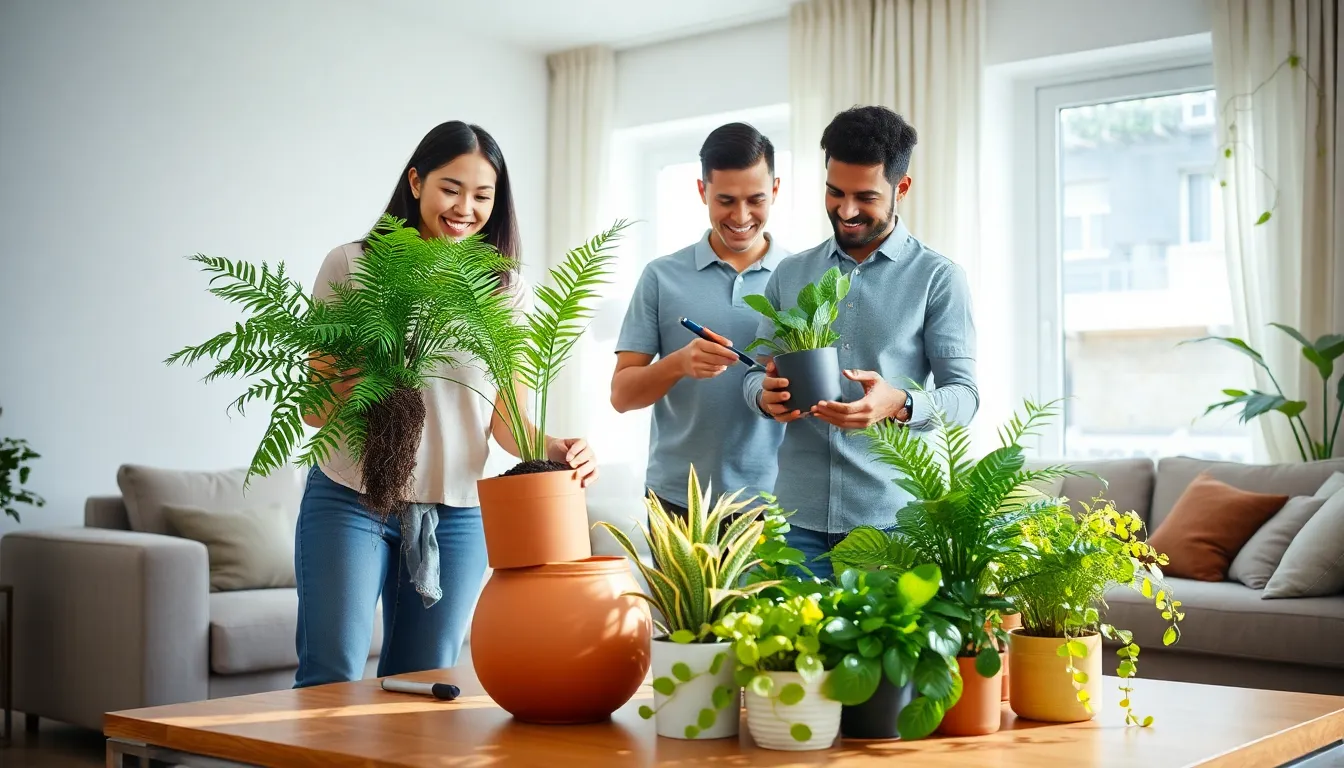
Materials You Will Need
Before embarking on the repotting journey, gather the essentials. You’ll need a new pot, ceramic, plastic or terracotta can all work wonders. Just make sure it has drainage holes to prevent root rot. Also, grab some fresh potting soil, a small trowel, and optionally, gloves to avoid dirt under your nails.
Choosing the Right Soil Mix
Different plants have different soil needs. For most houseplants, a standard potting mix suffices. But, succulents and cacti require a gritty mix to prevent overwatering. If you’re repotting orchids, consider a specialized orchid mix for those high-draining needs. Knowing your plant’s preferences is crucial for creating a thriving environment.
Step-by-Step Guide to Repotting
Preparing the New Pot
Start by adding a layer of soil to the bottom of your new pot. This will cushion the plant’s roots and help with stability. Ensure that the level accommodates the height of your plant: nobody wants a choppy, uneven growth spurt.
Removing the Plant from Its Current Pot
Gently squeeze the sides of the old pot to loosen the soil. Avoid yanking the plant out like a stubborn weed. Instead, tilt the pot at an angle and support the base of the plant with your other hand. With a little wiggle, your plant should slide out, roots and all.
Potting the Plant in Its New Home
Position your plant in the center of the new pot. Add soil gradually, patting it down for stability. Be careful not to bury the stems, proper ventilation is key. Once done, give it a gentle tap to settle the soil. This is where the magic happens.
Care After Repotting
Watering Adjustments
After repotting, your plant may be thirsty: but, resist the temptation to flood it. Water it lightly, enough to settle the soil but not so much that it drains freely. Monitor for the next couple of weeks to gauge its watering needs more accurately.
Optimal Lighting Conditions
Plants are divas when it comes to light. After repotting, give them a few days in indirect light. This adjustment helps them acclimate without added stress. Once your plant shows signs of comfort, feel free to move it back to its favorite sunny spot.
Common Mistakes to Avoid
Overwatering Issues
A very common pitfall in repotting is overwatering. It’s an easy mistake, especially right after you’ve given the plant a new home. Overwatering can lead to root rot, which is detrimental. Ensure every pot has adequate drainage and allow the top inch of soil to dry out between waterings.
Ignoring Plant Size Growth
Choosing a pot too large is another common error. A huge pot can retain excess moisture which roots can’t handle. Stick to a pot just one size bigger. This way, the plant has room to grow without drowning in soil.


