
Arranging indoor plants in clusters isn’t just visually appealing, it’s a practical strategy that can improve plant health, simplify care routines, and create a compelling focal point in any room. Whether someone’s working with a collection of succulents on a side table or a floor-level arrangement of large tropicals, strategic grouping leverages both design principles and plant biology. This guide walks through why grouping works, how plants benefit from proximity, and the proven techniques for creating arrangements that look intentional and thrive long-term.
Table of Contents
ToggleKey Takeaways
- Grouping indoor plants together increases humidity by 5–15% within the cluster through plant transpiration, benefiting humidity-loving species like ferns and calatheas during dry seasons.
- Strategic plant grouping simplifies care routines by clustering species with similar water and light requirements, allowing you to water multiple plants in one pass rather than scattered throughout your home.
- Effective arrangements follow the rule of three using odd numbers, varied heights, and mixed textures (glossy, feathery, structural) to create visual interest while maintaining proper spacing of 4–8 inches between pot rims to prevent overcrowding.
- Match plants by care requirements first, not aesthetics—grouping a drought-tolerant cactus with a moisture-loving fern will result in one or both plants failing regardless of how appealing the combination looks.
- Rotate plants weekly, check soil moisture individually, and inspect for pests weekly in grouped displays, as pests spread faster in clusters and different pots dry at different rates even within the same grouping.
Why Group Indoor Plants Together?
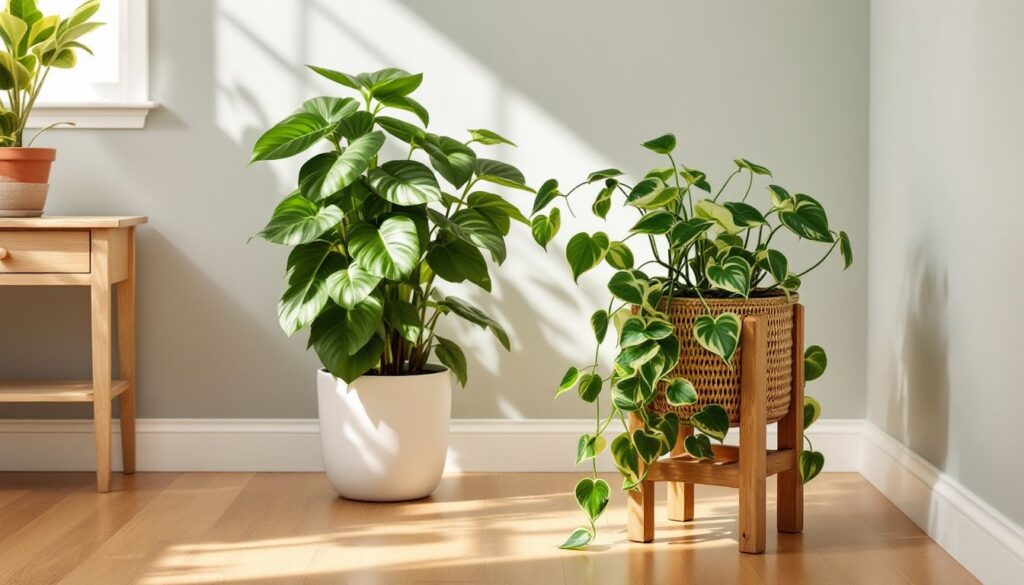
Plant groupings create visual weight and transform scattered greenery into a cohesive display. A single pothos on a shelf reads as décor: three plants of varying heights in the same zone become a designed element.
From a practical standpoint, clustering simplifies watering schedules. Plants with similar moisture and light requirements can be tended in one pass rather than scattered trips across the house. It also concentrates humidity, especially valuable during heating season when indoor air dries out.
Grouping multiple plants together creates microenvironments that benefit humidity-loving species. As each plant transpires, neighboring foliage captures some of that moisture, raising the ambient humidity within the cluster by several percentage points. This effect is measurable and particularly useful for ferns, calatheas, and other tropical varieties that struggle in typical household conditions (40–50% relative humidity).
Finally, grouped arrangements allow for experimentation. It’s easier to swap out an underperforming specimen or rotate plants seasonally when they’re already in a defined display zone rather than integrated into multiple rooms.
The Science Behind Plant Grouping: How Plants Benefit Each Other
Plants grouped together participate in what’s sometimes called a “humidity bubble.” Each plant releases water vapor through stomata (tiny pores on leaves), and when several plants occupy the same space, that vapor concentrations locally. Studies on tropical greenhouse management show humidity increases of 5–15% within dense plantings compared to isolated specimens.
This doesn’t mean any group will thrive. Overcrowding restricts airflow, which invites fungal issues like powdery mildew or botrytis. Spacing plants so foliage doesn’t overlap, typically 4 to 8 inches between pot rims for small to medium plants, maintains the humidity benefit while allowing air circulation.
Grouping also consolidates light resources. Plants positioned around a single large house plant can benefit from reflected or diffused light bouncing off nearby foliage. Lighter-colored walls or reflective surfaces (mirrors, light-colored furniture) amplify this effect.
There’s no chemical communication or “companion planting” benefit indoors like there is in garden beds. Indoor groupings are purely about physical factors: humidity, light efficiency, and care logistics. Don’t expect a spider plant to deter pests from a neighboring fern, integrated pest management and proper watering still apply to each specimen individually.
Essential Design Principles for Arranging Plant Groupings
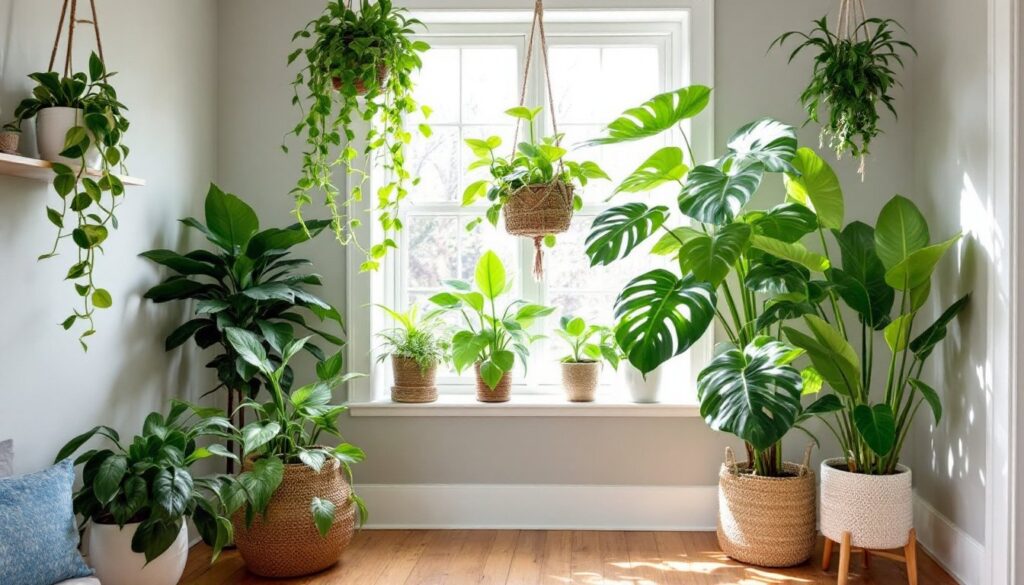
Effective groupings rely on the rule of three: odd numbers feel balanced and avoid the formal symmetry of pairs. Three, five, or seven plants create visual interest without looking contrived.
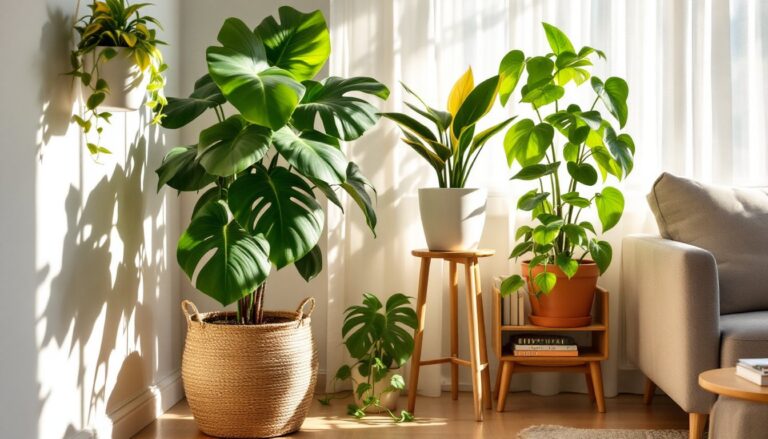
Start with one anchor plant, typically the tallest or most architecturally distinct specimen. This establishes the arrangement’s vertical line. Around it, layer medium and smaller plants to create depth. A 6-foot fiddle leaf fig might anchor a floor grouping, flanked by a 3-foot dracaena and a tabletop-level pothos trailing over the edge of a stand.
Container choice matters. Unified materials (all terracotta, all ceramic, all woven baskets) create cohesion even when pot sizes vary. Mixing materials works if there’s a unifying color palette, matte black ceramic with black wire plant stands, for example. Avoid a mix of glossy, matte, woven, and metallic finishes unless aiming for an eclectic look: it usually reads as unintentional.
Leave negative space. Groupings shouldn’t consume every inch of a corner or shelf. The eye needs breathing room. A common error is packing plants so tightly that individual forms disappear into a green mass.
Varying Heights and Textures
Height variation is the backbone of dimensional arrangements. Use plant stands, stacked books, upturned crates, or wall-mounted shelves to stagger elevations. A low, spreading peperomia at floor level contrasts with a mid-height snake plant and a trailing philodendron spilling from a high shelf.
Texture adds richness. Pair broad, glossy leaves (rubber plant, monstera) with fine, feathery foliage (ferns, asparagus fern) and structural, upright forms (snake plant, ZZ plant). The interplay between matte and glossy, broad and narrow, creates visual complexity without requiring rare or expensive species.
Color variation works in moderation. All-green groupings feel serene and cohesive. Adding one or two plants with variegated foliage, cream-striped pothos or pink-tinged aglaonema, provides accent without overwhelming. Avoid grouping multiple highly variegated or colorful plants unless the goal is a bold statement piece.
Choosing the Right Location for Your Plant Cluster
Light requirements govern placement more than aesthetics. Assess the space first: measure light levels with a light meter app (free options work fine) or observe how shadows move through the day.
Bright indirect light (200–400 foot-candles) suits most groupings. South- or west-facing windows with sheer curtains, or unobstructed east-facing windows, provide this. Avoid direct sun beams for clusters that include tropical foliage: leaf scorch happens fast on thin-leaved plants.
For low-light zones (under 100 foot-candles), interior hallways, north-facing corners, choose species accordingly. Grouping several easy house plants adapted to shade (pothos, snake plant, cast iron plant) works better than mixing light-hungry species that will etiolate (stretch and weaken).
Floor space matters for large clusters. A three-plant floor grouping occupies roughly 4 to 6 square feet when properly spaced. Measure before committing: cramming plants into an undersized corner forces them against walls where airflow stalls.
Proximity to HVAC vents is a concern. Forced air, hot or cold, desiccates foliage and causes rapid soil drying. Position clusters at least 3 feet from registers or redirect vent flow with deflectors.
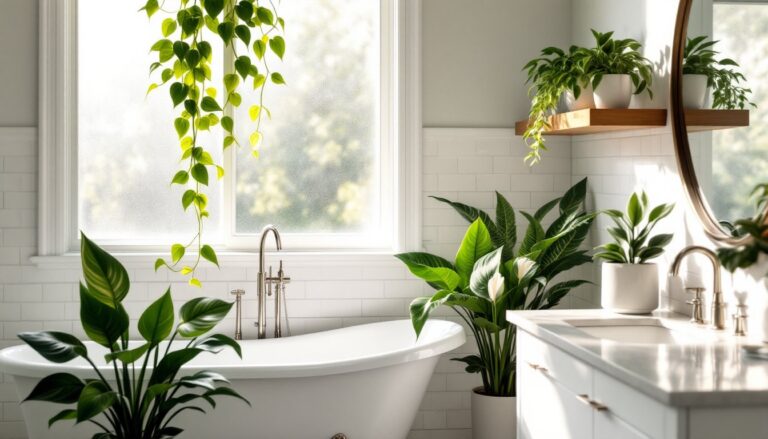
Humidity hotspots like kitchens and bathrooms are natural fits for groupings, especially for species that struggle in drier rooms. Bathroom plants benefit from residual shower steam, and grouping them amplifies the effect. Just ensure adequate light, many bathrooms have insufficient natural light for foliage plants.
Best Plant Combinations for Grouped Displays
Match plants by water and light needs first, aesthetics second. Grouping a cactus with a fern looks interesting until the cactus rots from frequent watering or the fern crisps from neglect.
Low-light, low-water grouping:
• Snake plant (Sansevieria)
• ZZ plant (Zamioculcas zamiifolia)
• Cast iron plant (Aspidistra elatior)
These tolerate neglect and adapt to dim corners. Water every 2–3 weeks when soil dries completely.
Bright indirect, moderate-water grouping:
• Pothos (Epipremnum aureum)
• Philodendron (heartleaf or Brasil)
• Spider plant (Chlorophytum comosum)
Fast-growing, forgiving, and widely available. Water when the top 1–2 inches of soil dry out.
High-humidity, bright light grouping:
• Calathea (various species)
• Fern (Boston, maidenhair, bird’s nest)
• Prayer plant (Maranta leuconeura)
These need consistent moisture (not soggy) and benefit most from clustered humidity. Ideal near humidifiers or in naturally humid rooms.
Statement grouping with architectural plants:
• Fiddle leaf fig (Ficus lyrata)
• Monstera deliciosa
• Bird of paradise (Strelitzia reginae)
Large specimens grouped in bright, spacious areas. Requires tall house plants with similar care profiles and room to spread.
Texture plays a role here too. Pairing smooth, broad leaves (monstera) with fine foliage (fern) or spiky forms (dracaena) adds dimension even within a single care category.
Common Mistakes to Avoid When Grouping Plants
Ignoring drainage: Every pot in a grouping needs drainage holes. Decorative cache pots work, but ensure water doesn’t pool in the outer container. Dump excess water after watering, root rot kills more houseplants than any other issue.
Overcrowding for immediate impact: Grouping young plants tightly for a lush look backfires as they mature. Leave growth room. A 6-inch pot needs roughly 8–10 inches of clearance diameter to allow for a season or two of growth without repotting.
Mixing incompatible care requirements: A succulent next to a moisture-loving fern looks appealing until one dies. Research before grouping. Indoor plants have specific needs: aesthetics can’t override biology.
Neglecting rotation: Plants grow toward light sources. Rotate each plant a quarter-turn weekly so all sides receive even exposure. Skipping this leads to lopsided growth and sparse foliage on the shaded side.
Skipping pest checks: Pests spread faster in groupings. Inspect undersides of leaves, stems, and soil surfaces weekly for aphids, spider mites, scale, or fungus gnats. Isolate any infested plant immediately.
Forgetting about access: Groupings pushed into corners or against walls are hard to maintain. Leave enough space, at least 12–18 inches, to reach behind and between plants for watering, pruning, and inspection. Inaccessible plants get neglected.
Using mismatched pot sizes haphazardly: Vary pot sizes intentionally for height contrast, but avoid extreme disparities. A 14-inch floor planter next to a 4-inch tabletop pot looks unbalanced unless the small pot sits elevated on a stand.
Grouping isn’t set-and-forget. Monitor soil moisture individually, pots in the same cluster can dry at different rates depending on plant size, root density, and pot material. Terra cotta wicks moisture faster than glazed ceramic. Check each plant rather than watering the whole group on a fixed schedule.